Editing Survey Responses in Experience Builder
February 20, 2025 2025-02-20 19:03Editing Survey Responses in Experience Builder
Imagine being able to edit an ArcGIS Survey123 response simply by selecting a map feature. This action opens the associated survey, allowing you to modify responses effortlessly. You can also click on a feature to auto-populate a new survey with its data or view the linked survey—quick and easy! Let’s walk through the process.
Getting Started
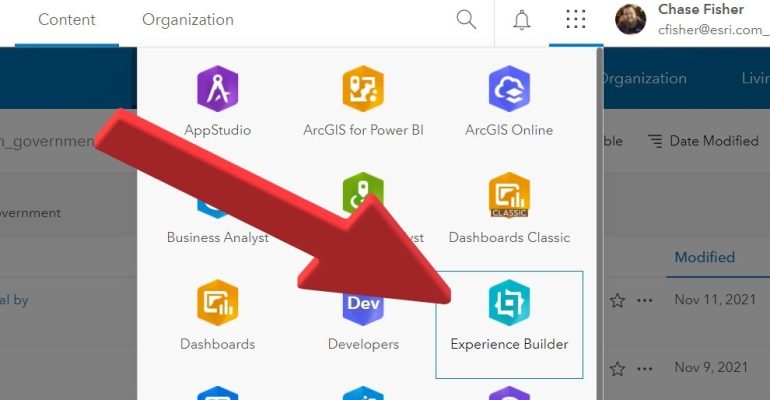
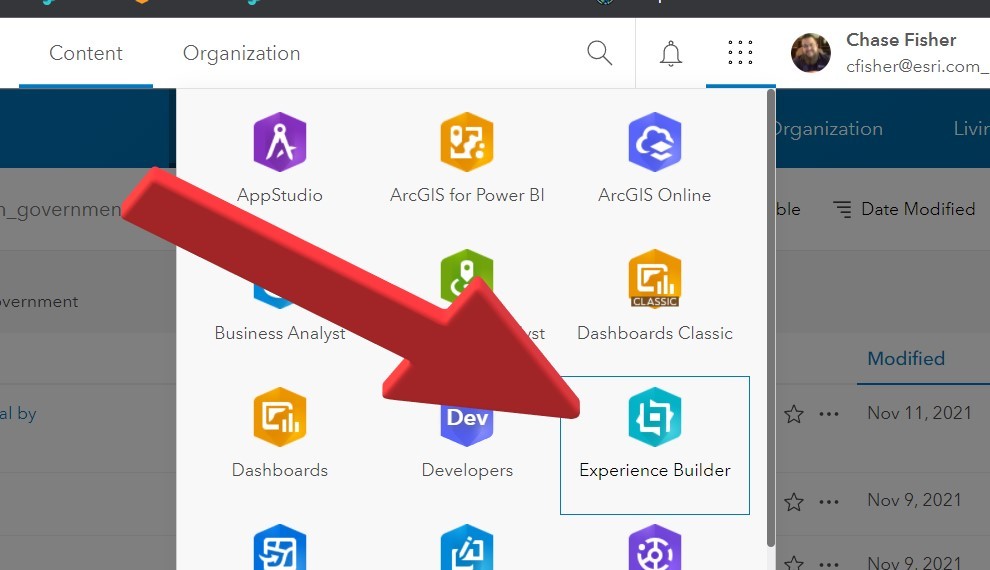
- Open ArcGIS Experience Builder from your ArcGIS Online or ArcGIS Enterprise app launcher.
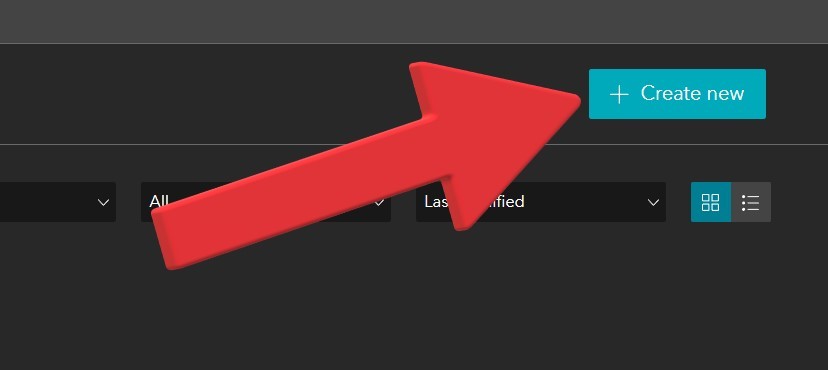
2. Click “+ Create new.”
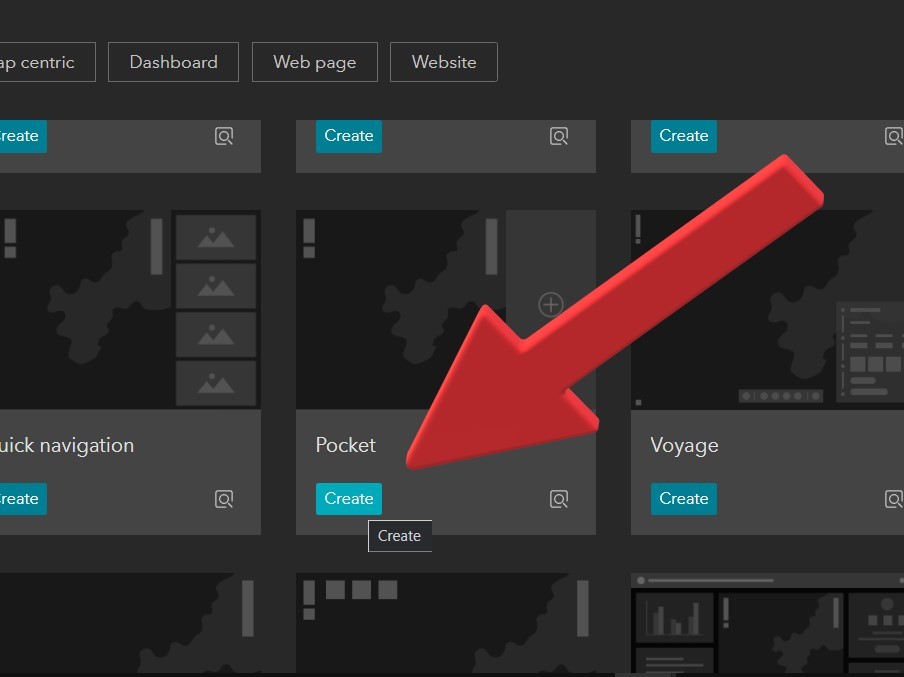
3. Choose the Pocket Template, then click Create.
Now that we’ve created our Experience Builder application, it’s time to configure it by selecting a new map. Replace the default map with one that contains either:
- The Survey123 data you want to edit.
- The data you want to pass into a new Survey123 form.
If you don’t have a map ready, you can rename your Experience Builder app (top left) and save it (top right). Then, create your map and return to this guide.
Configuring the Map
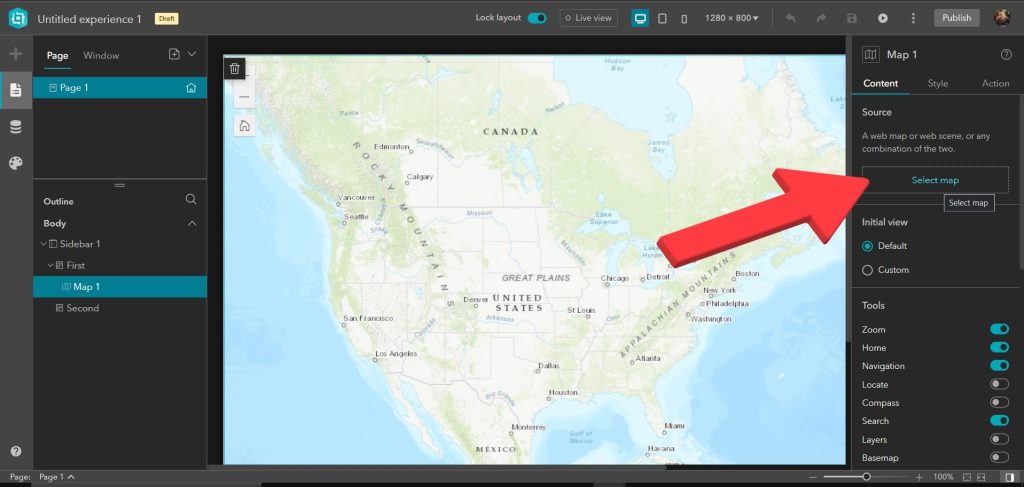
- Select the map in the center of the screen. In the dialog box on the right, click “Select map.”
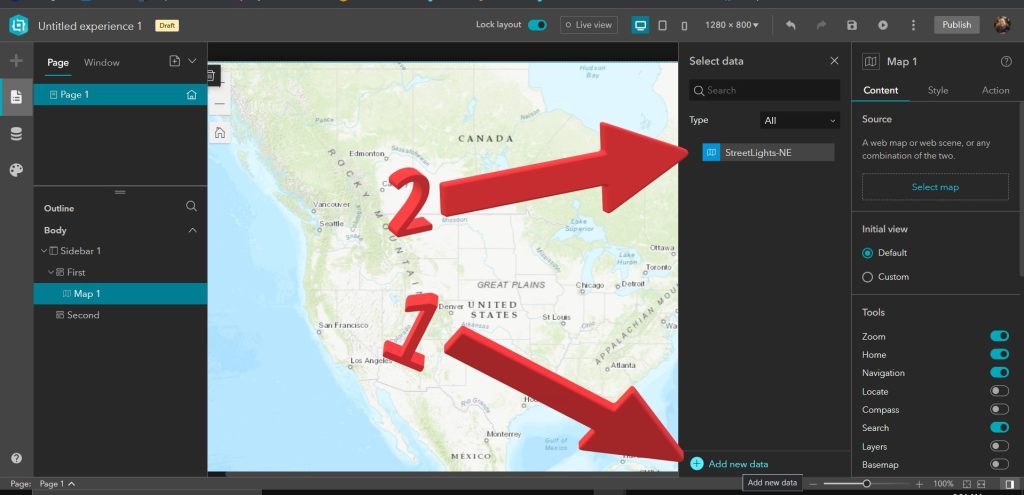
5. Since Experience Builder requires data to work with, click “Add new data” at the bottom. Select your preferred map—it will now appear in your list. Choose it to replace the default map.
For this walkthrough, I’m using a street light inventory. My goal is to create a simple Survey123 form that auto-fills with street light details while allowing me to add additional information.
Adding the Survey Widget
- Scroll to the right and click the “+” to add a new widget.
- Select the Survey widget.
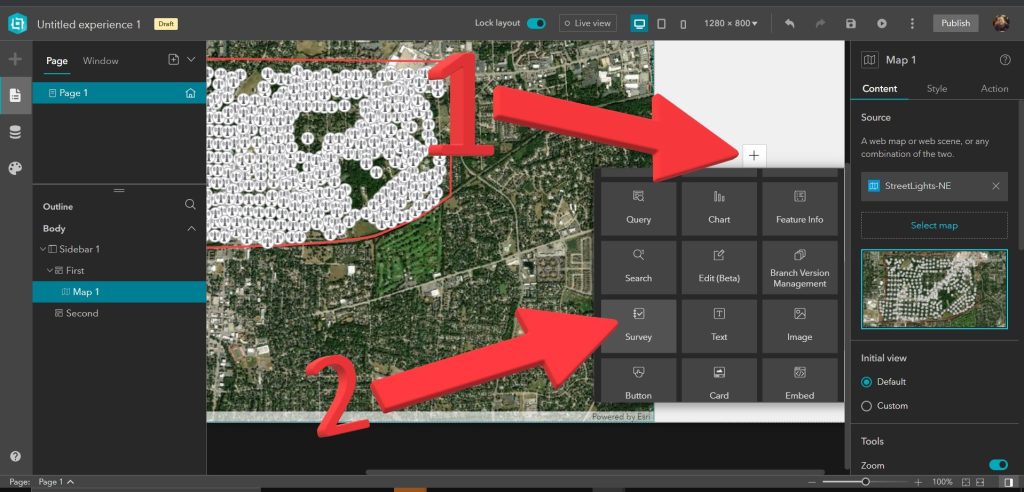
8. Click the Survey icon.
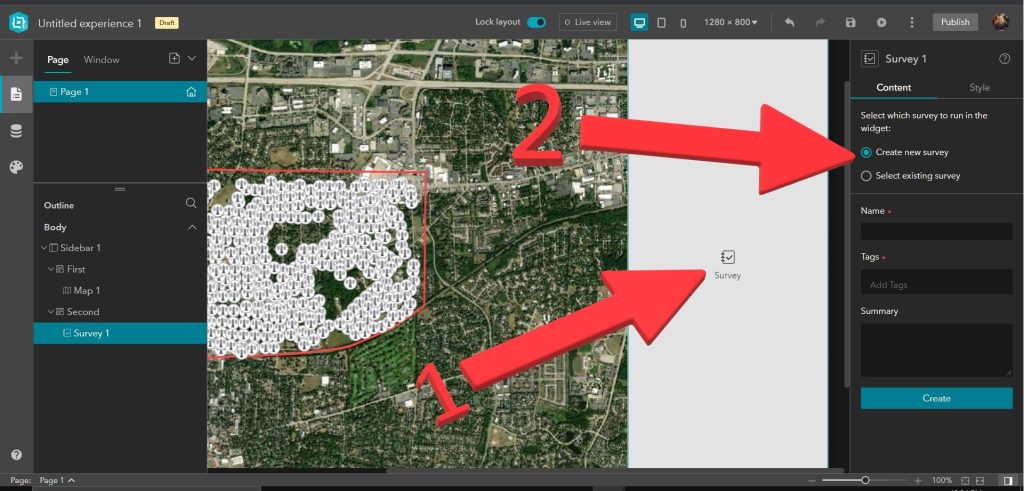
9. Choose an existing Survey123 form or create a new one. I’m selecting a pre-existing survey designed to capture street light information.
Configuring Survey Mode and Data Passing
Once your survey loads, you’ll see several options for appearance and functionality:
- Submit a new record
- Edit an existing record
- View an existing record
- Enable data transfer to the survey
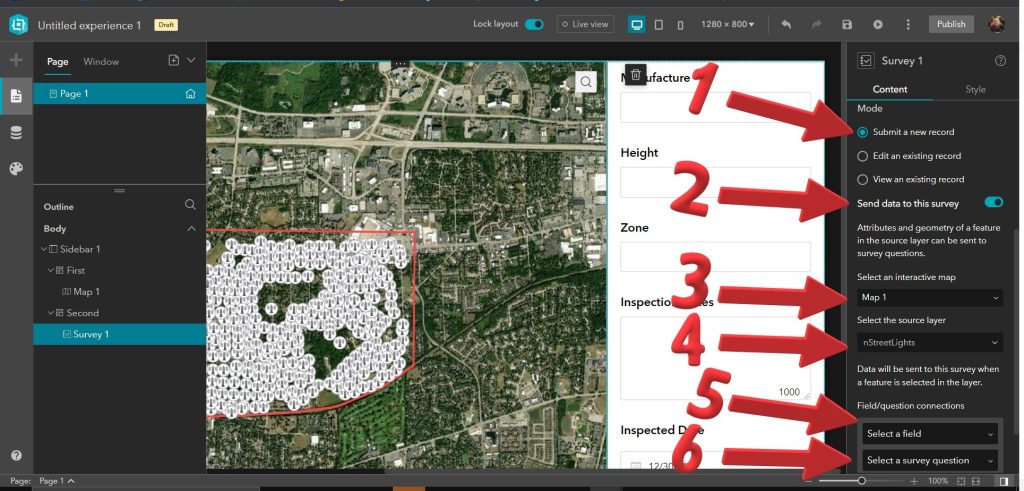
For this example, I’ll use “Submit a new record” mode and enable “Send data to this survey.”
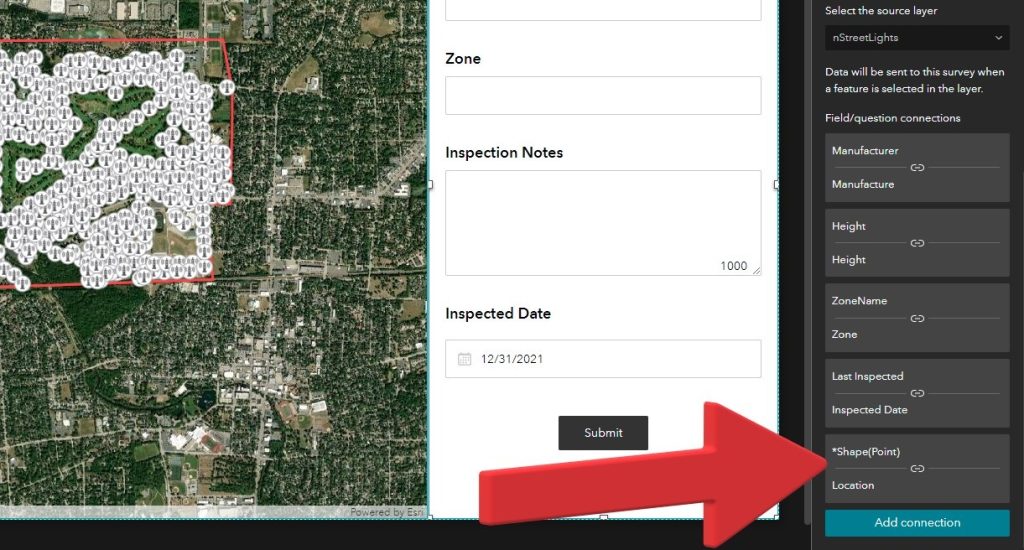
- When you enable “Send data to this survey,” a dialog box expands, prompting you to:
- Select a map.
- Choose a source layer for data transfer.
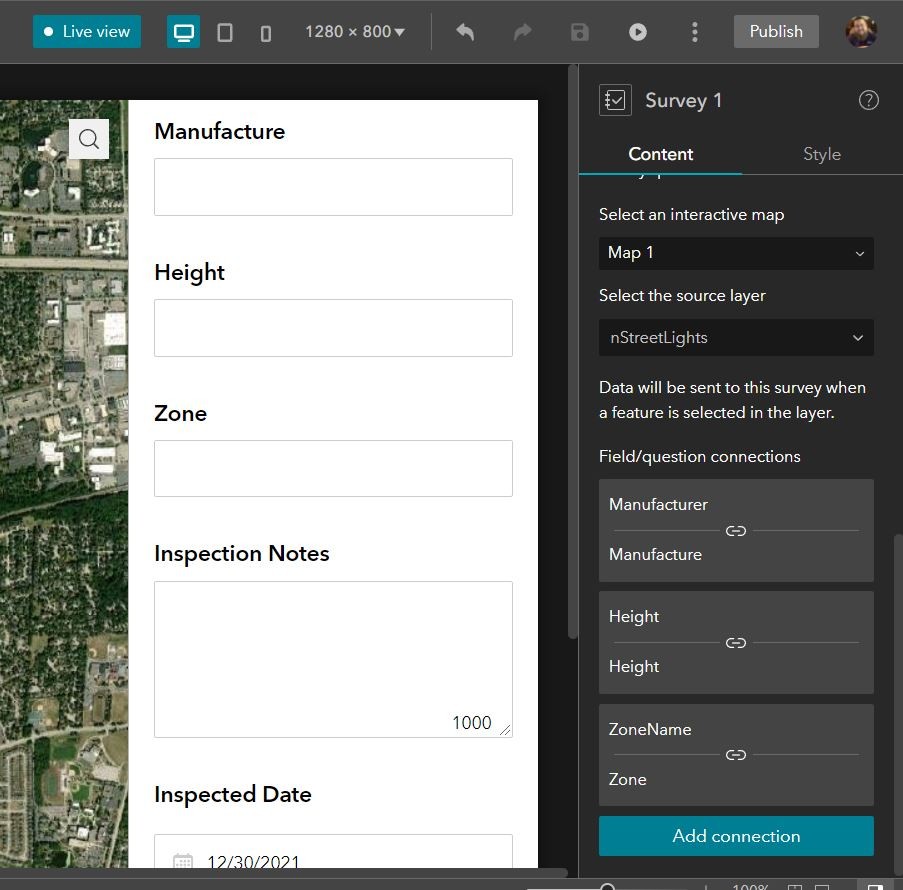
- Match fields from your map to survey questions.
Once all fields are linked, save your work and test the setup.
Note: You may need to repeat this setup for tablet and mobile views (options at the top of the screen).
Testing Your Setup
After saving, try Live View or publish and open your app in a new browser tab.
Now, when you select a street light, the survey auto-populates with details like manufacturer, height, and zone. You can then add notes and submit the record.
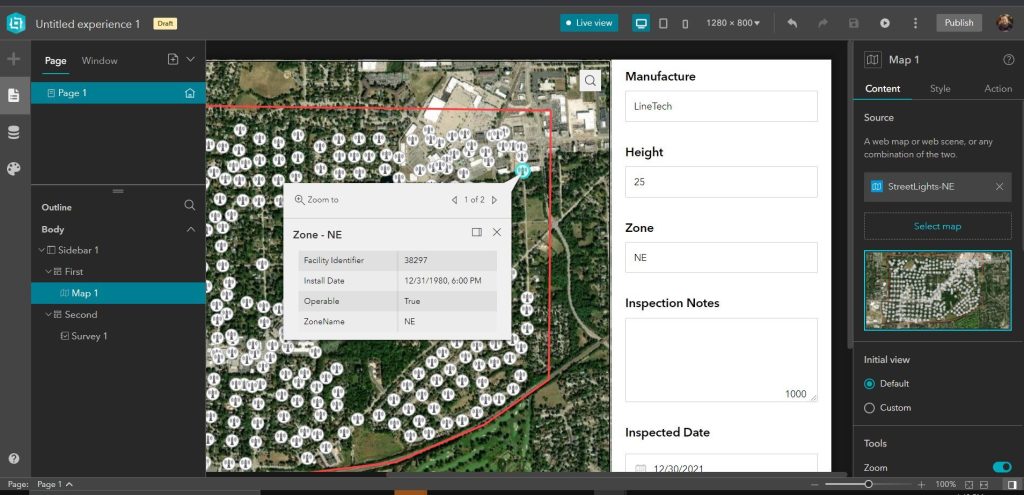
If you’re editing an existing survey, the form will pre-fill with all available data—allowing you to modify and submit it.
For new submissions, you might want the X, Y coordinates of the selected location to match the X, Y of your survey point. To achieve this:
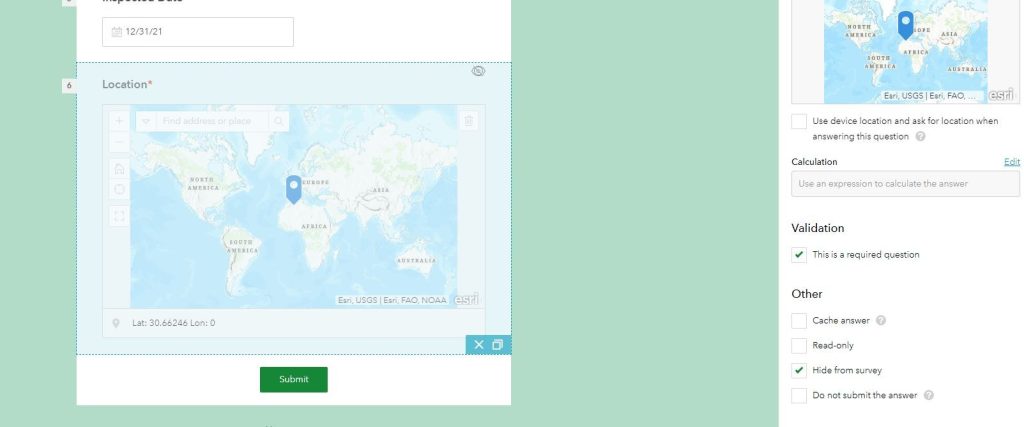
- Add a Map question to your Survey123 form.
- Hide this question to avoid user confusion.
- Link the Shape (Point) from the WebMap to this hidden Map question in Survey123.
- This ensures that the survey captures the correct coordinates from the selected feature.
Final Thoughts
I know this was a quick overview, but I hope it gives you some ideas for enhancing your workflows.
Keep up the great work, and until next time!
Disclaimer: This article was originally written by By Chase Fisher View full article here